

Here’s How to Make The Noise Go Down
If you’re frustrated by the noise your radiator creates, try these solutions. For decades and decades, builders have depended on steam radiators for a simple reason: they work!
However, any technology has disadvantages, and with steam radiators, the most common concern is noise. You may wonder why the radiators didn’t come with earplugs with all the clanking and banging. What’s causing the problem, and how do you solve it? Here are a few things to keep in mind if you want to fix a noisy radiator in your house.
What’s the Deal With The Noisy Radiator?
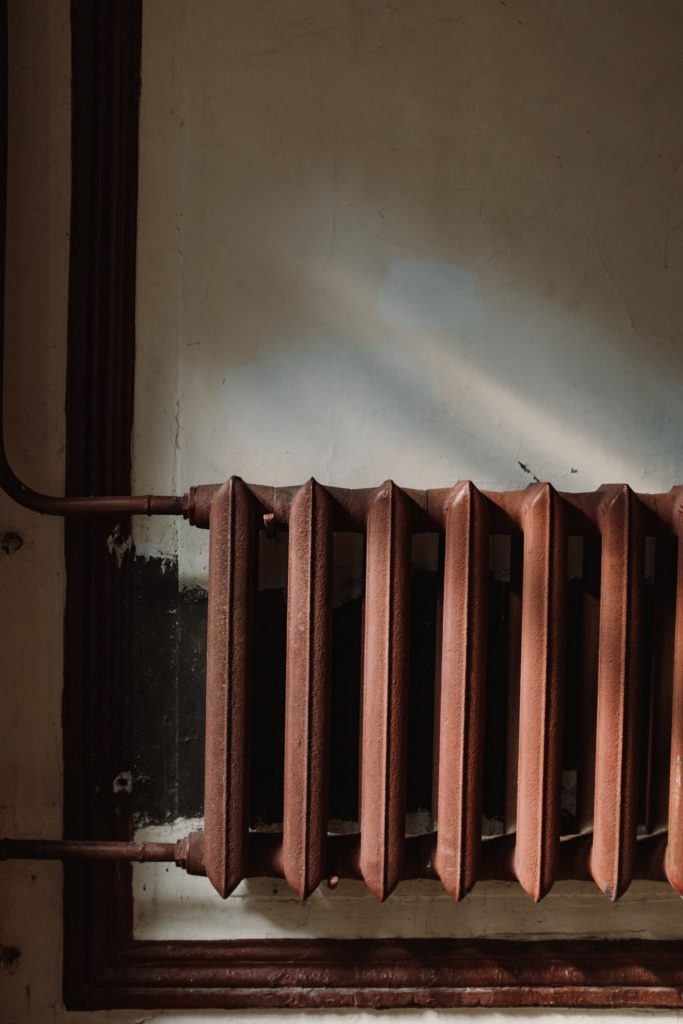
A single pipe runs from the boiler to the radiators in a traditional steam heating system. An intake valve is located at the point where the pipe connects to a radiator. This part serves two purposes. It starts by supplying steam to the radiator. Then, the intake valve allows the liquid to drain out of the radiator and return to the boiler as the steam is cooled and condensed to vapor. That’s how things are supposed to function, at least.
However, water also becomes trapped in the radiator, preventing steam from entering. As the trapped water and blocked steam tug at each other, they create a lovely symphony that keeps you awake at night. A noisy radiator, aside from making a terrible noise, indicates that your machine isn’t performing as well as it should.
What to do with a noisy radiator?
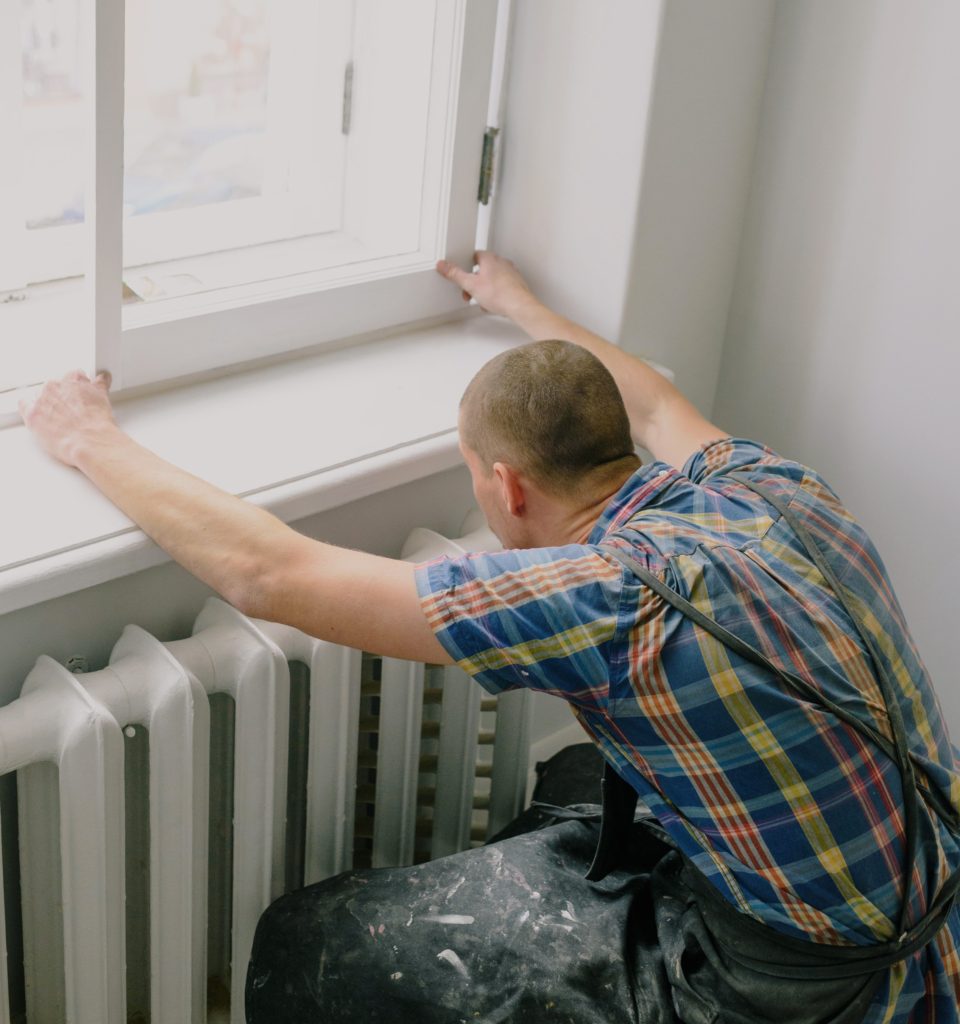
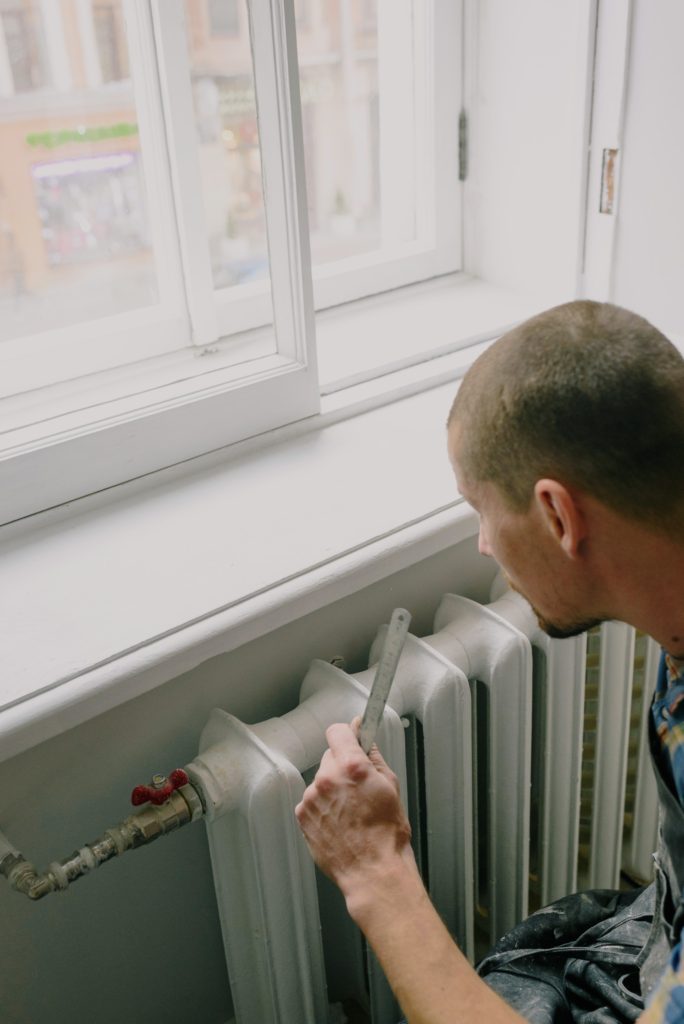
A steam radiator that works well doesn’t rest on the floor perfectly. Instead, it slightly tilts towards the valve intake. This location causes condensed water not by pump, but by the force of gravity to run out of the radiator. Therefore, if your radiator becomes noisy, check first if the radiator is tilted to the valve.
Use a level and adjust the angle if you see that the radiator is sitting level or tilting away from the valve. Try to slip a wooden slat on the opposite end of the valve under the legs. The trick is supposed to be to tilt it just five degrees.
Ensuring it’s HOT
The steam vent is another potential source of radiator noise.
You can also check a different common problem. Steam should condense in the pipe well before reaching your heat exchanger. If not, the workaround is to insulate the pipe from the boiler, whenever possible. Pneumatic insulation is easy to work with, so cover sections of the pipes that most need insulation.
Try squeezing the valve intake so that the radiator does not have gas. Take the vapor vent from the radiator and put it in a vinegar tub and let it rest overnight. This will contribute to the dissolution of all calcium deposits that have accumulated over time. If this does not work, buy a new steam vent to see if the new vent fixes the issue. A new vent can be easily found in most homes and costs just about ten bucks, so if anything else fails it is worth a try.
A friendly reminder on the use of steam radiators, in general. The intake valve should be either completely opened or fully closed. Leaving the valve partially open can lead to leaks and damage to the floors.